Powering on and using your IFP33
This article highlights the basics of powering on your IFP33 and getting started with the display.
Power your IFP33 ON/OFF
Follow these steps to starting using your ViewBoard:
- Before turning on your ViewBoard, ensure the power cord is connected, plugged into a power outlet, and the device's power switch is in the ON position.
- Press the Power button to turn the ViewBoard ON.
- To turn the ViewBoard OFF, press and hold the Power button.
 Location of power switch and power cord port on the IFP33.
Initial launch setup
When you turn on your ViewBoard for the first time, an initial setup wizard will guide you through first-time device settings:
- Select your language.
- Setup and verify your Ethernet (LAN) connection.
- Set the date and time by using network detected time or selecting a time zone.
- Select your preferred system mode.
- Review the privacy and copyright protection statement before continuing.
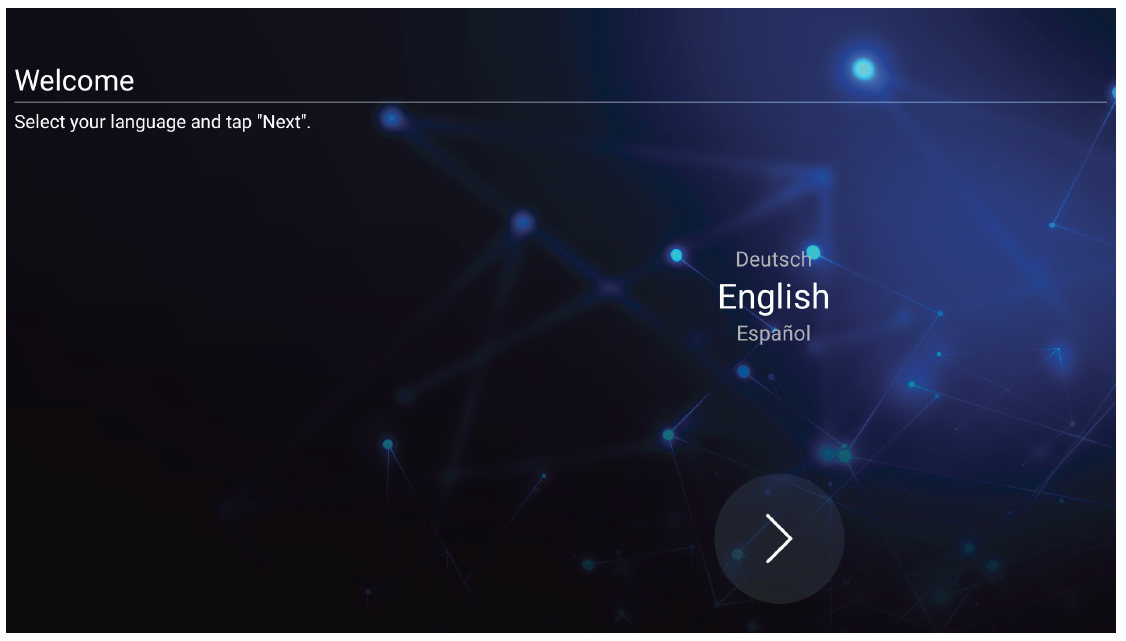 Language selection prompt.
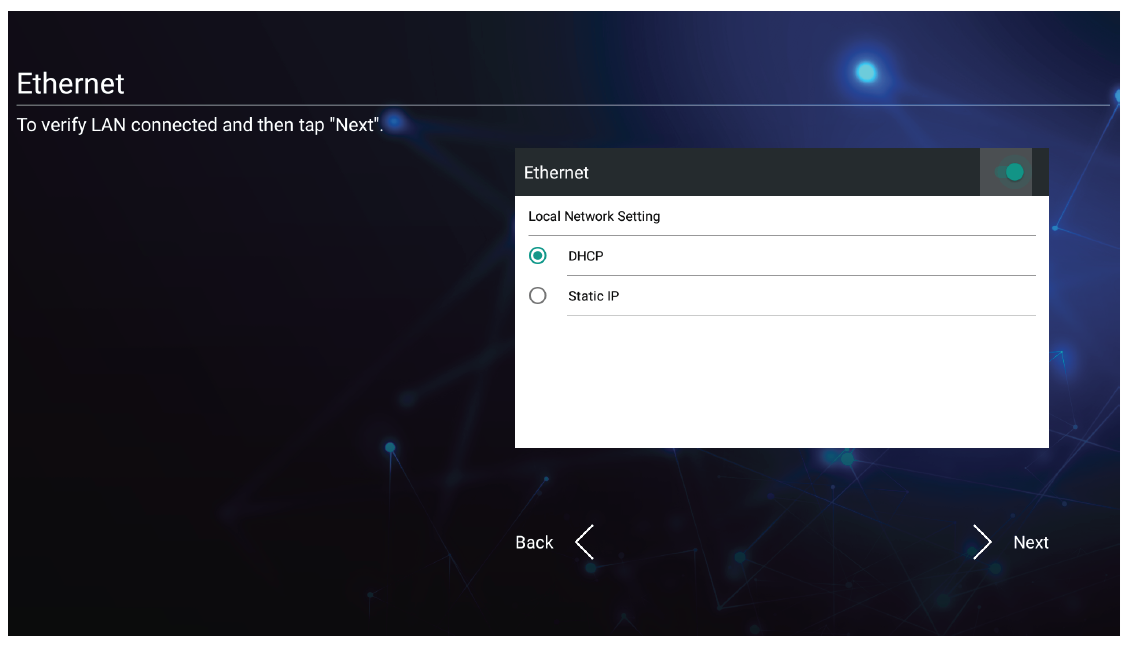 Network connect setup.
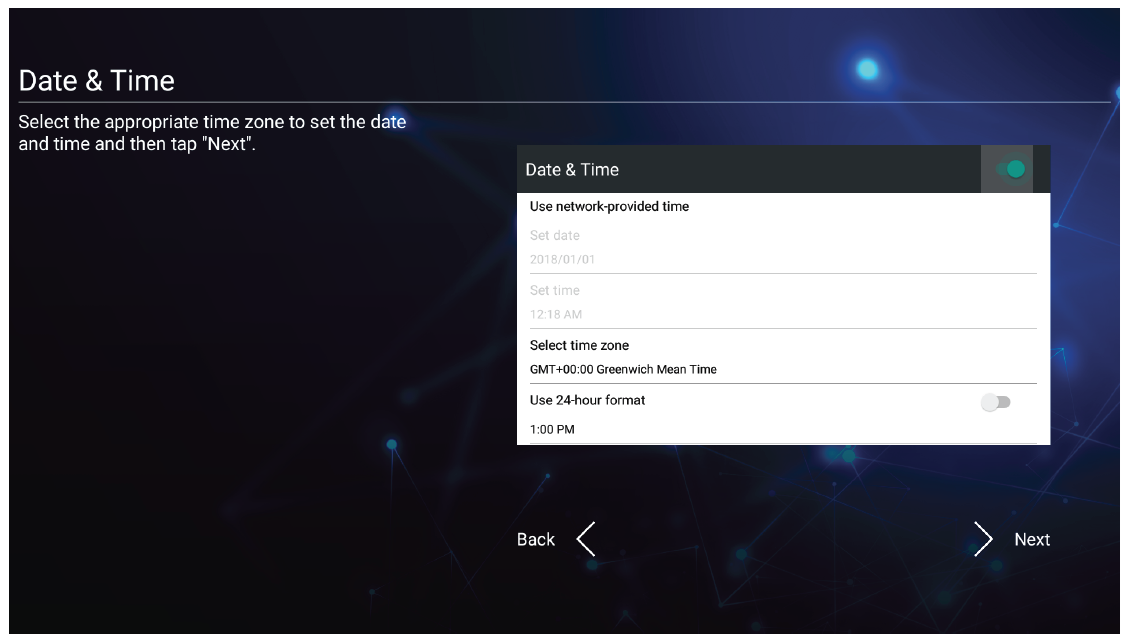 Date and time setup.
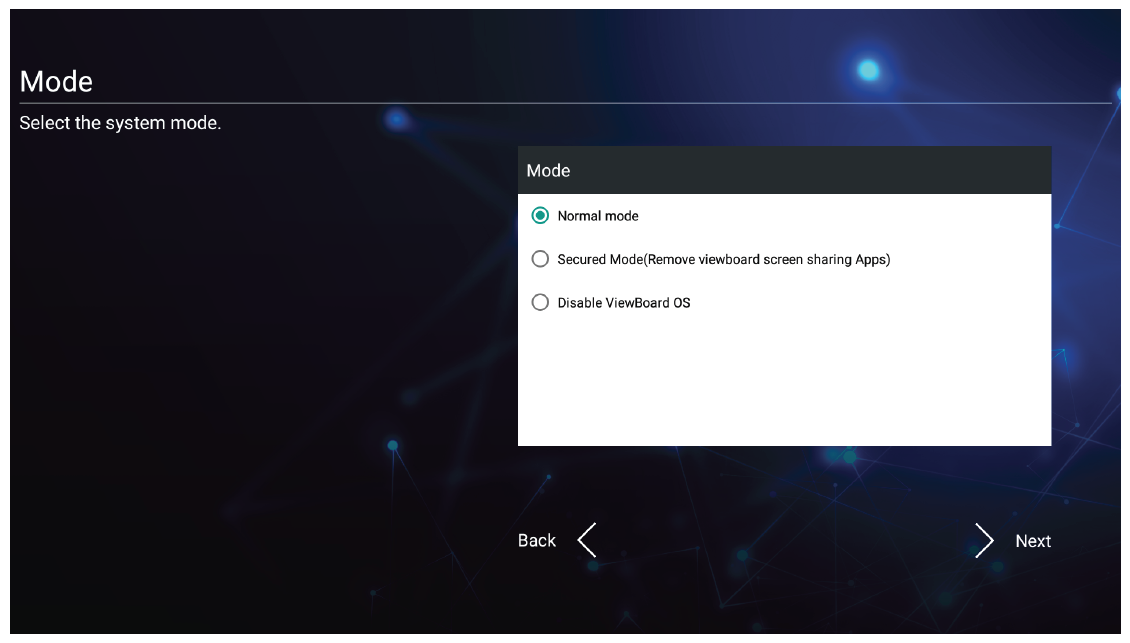 System mode selection.
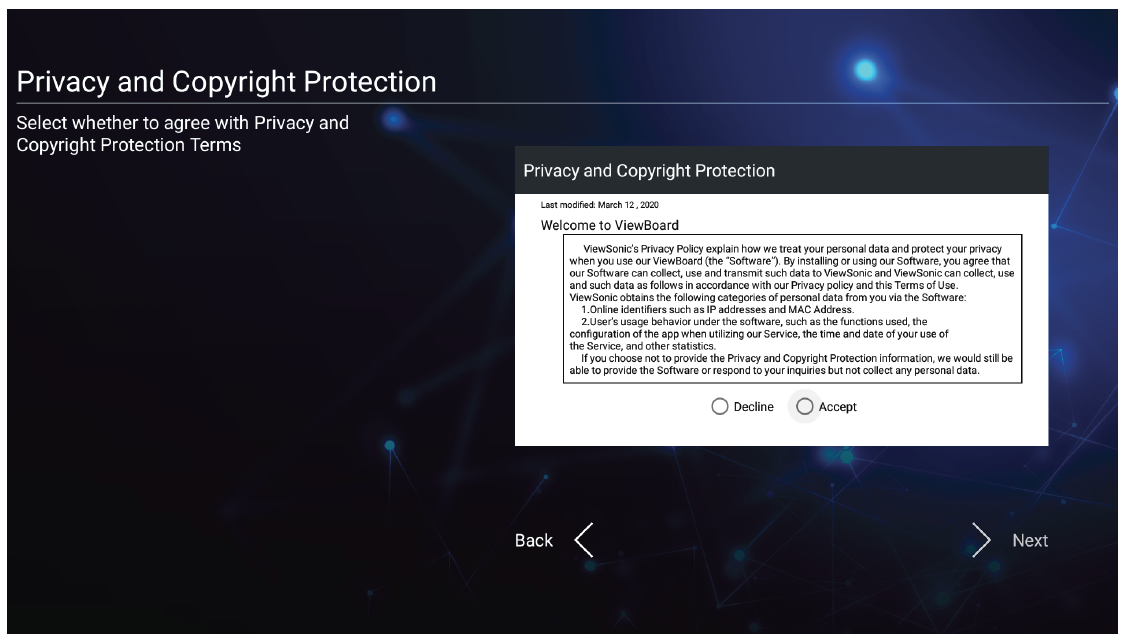 Privacy and copyright agreement.
 Language selection prompt.
 Network connect setup.
 Date and time setup.
 System mode selection.
 Privacy and copyright agreement.
Home screen
The home screen is where you'll find quick access to your ViewBoard's applications, quick tools, and input source options.
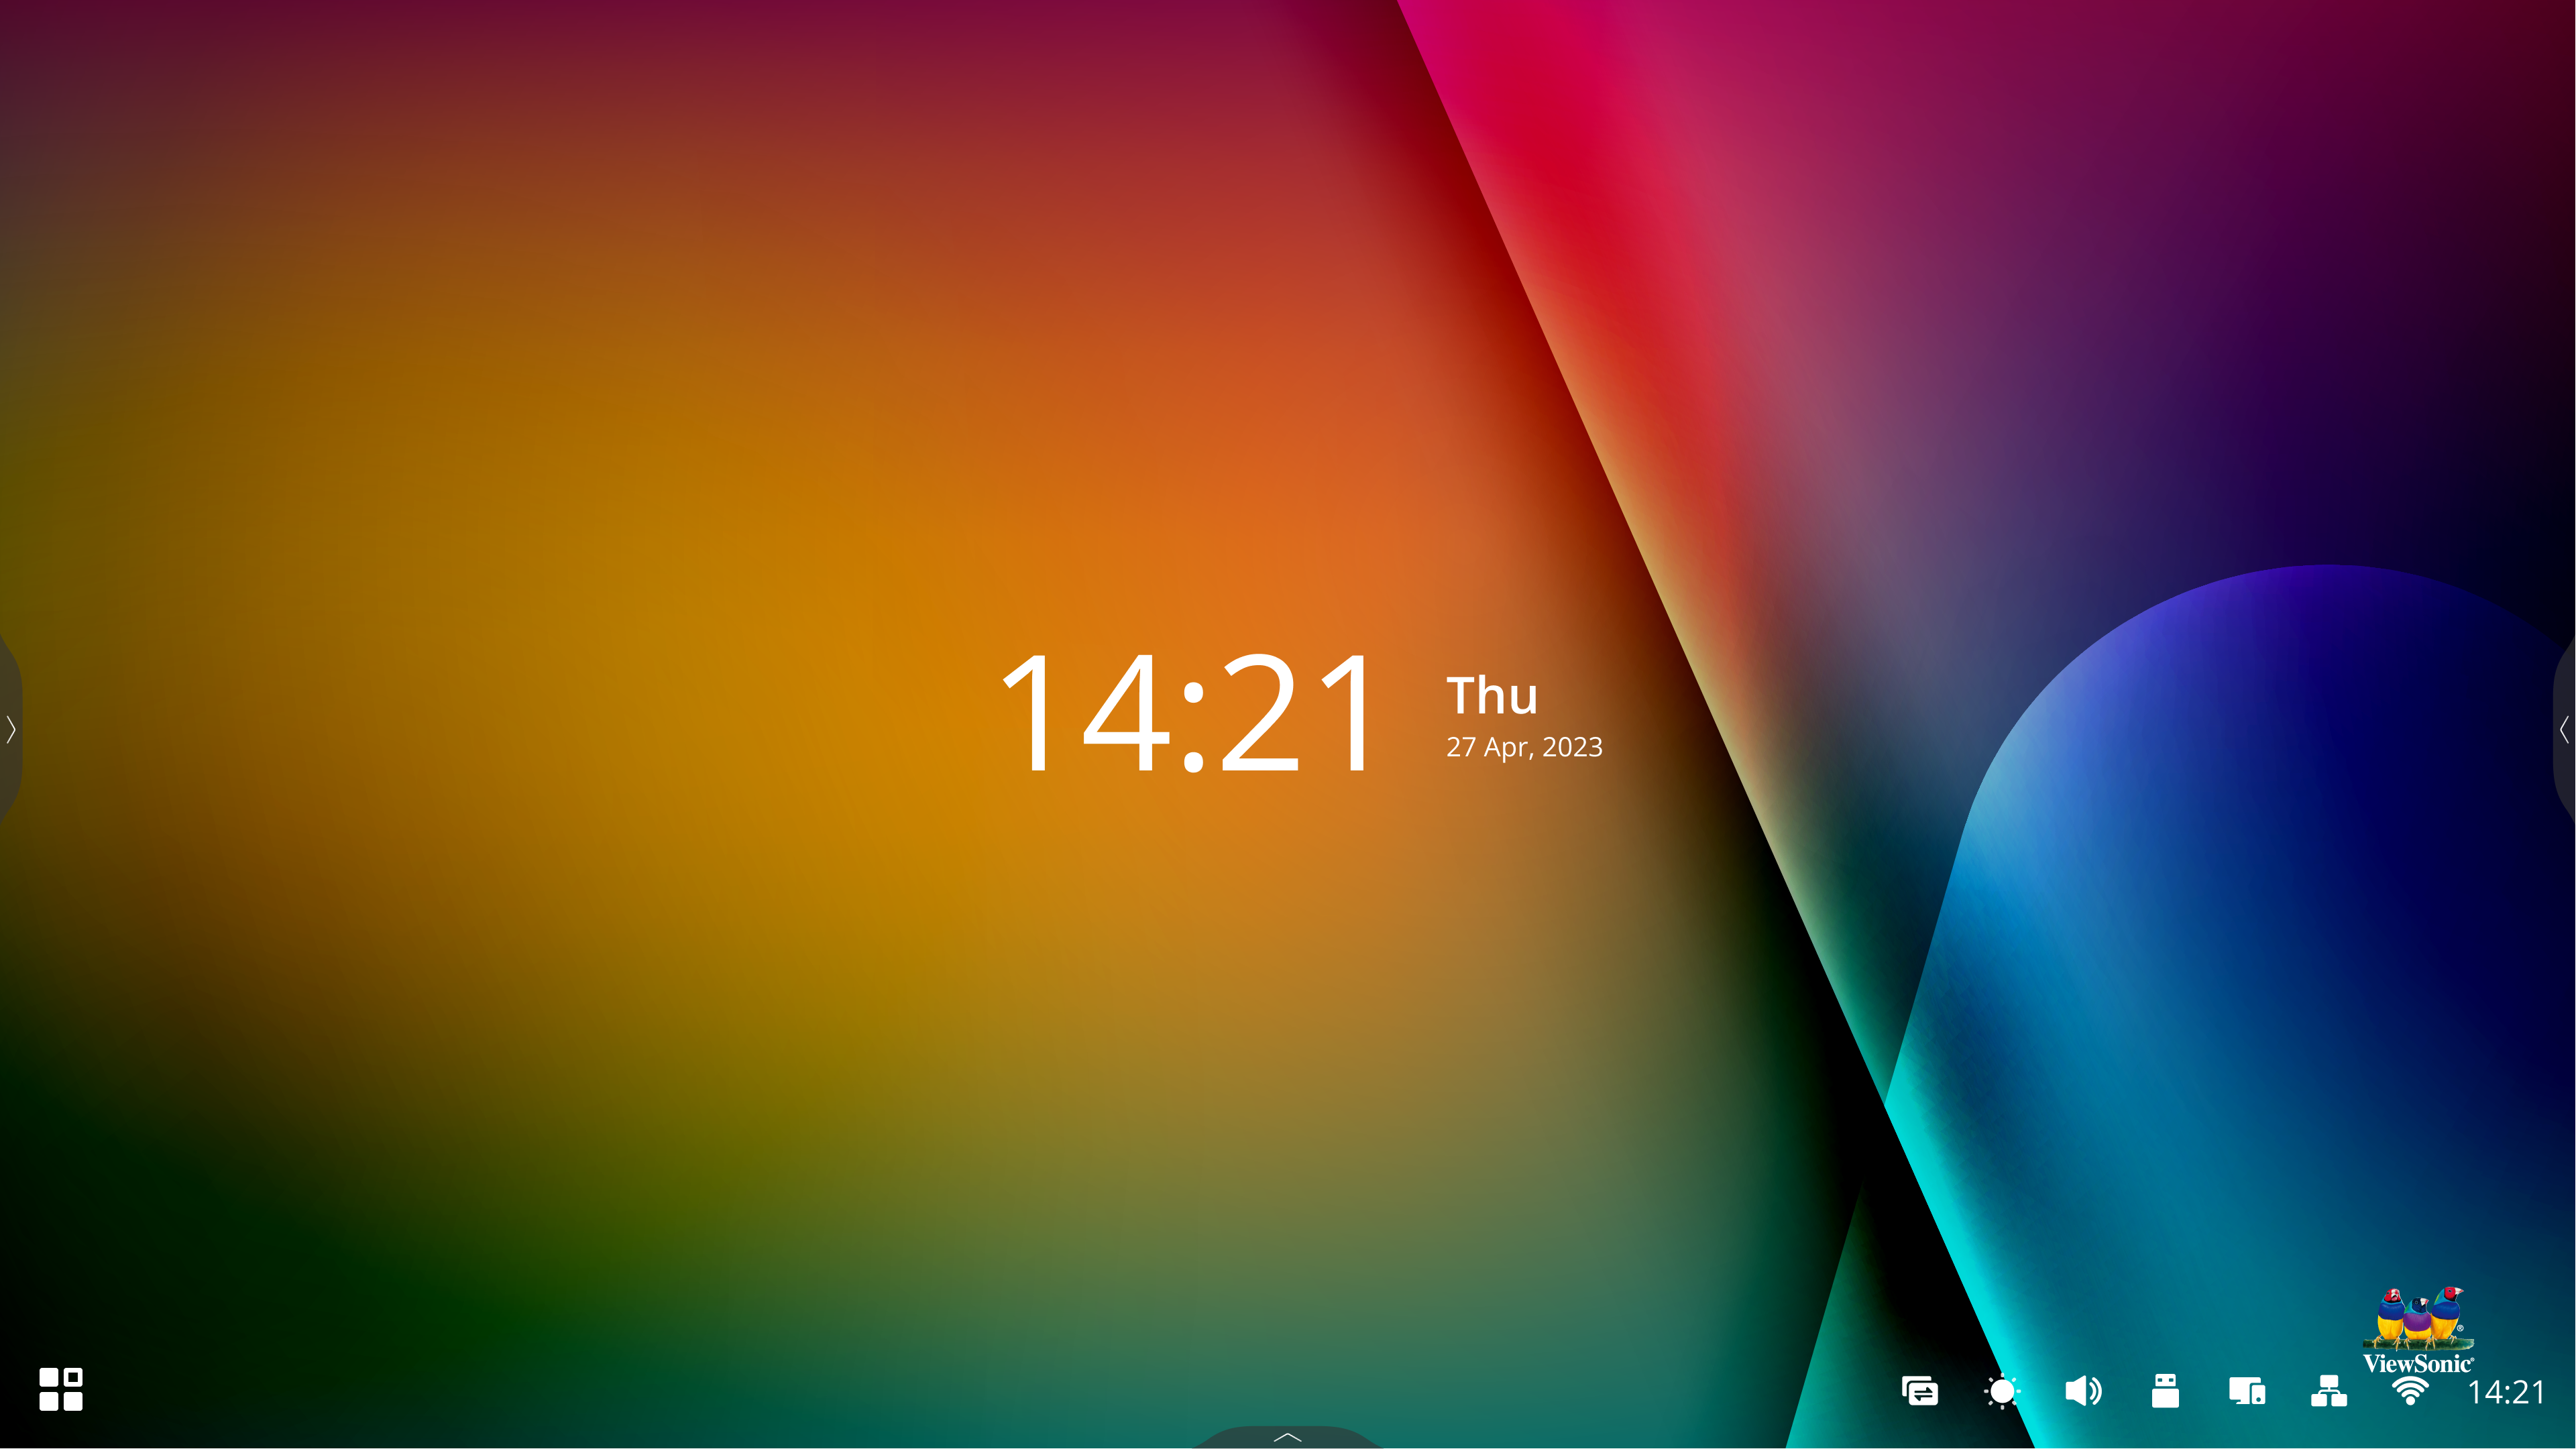 IFP33 home screen.
Toolbar
You can find your most important tools and actions in the side toolbar. This toolbar is always available no matter if you're on the home screen, in an app, or in a different input source.
Access the toolbar at any time by pressing 
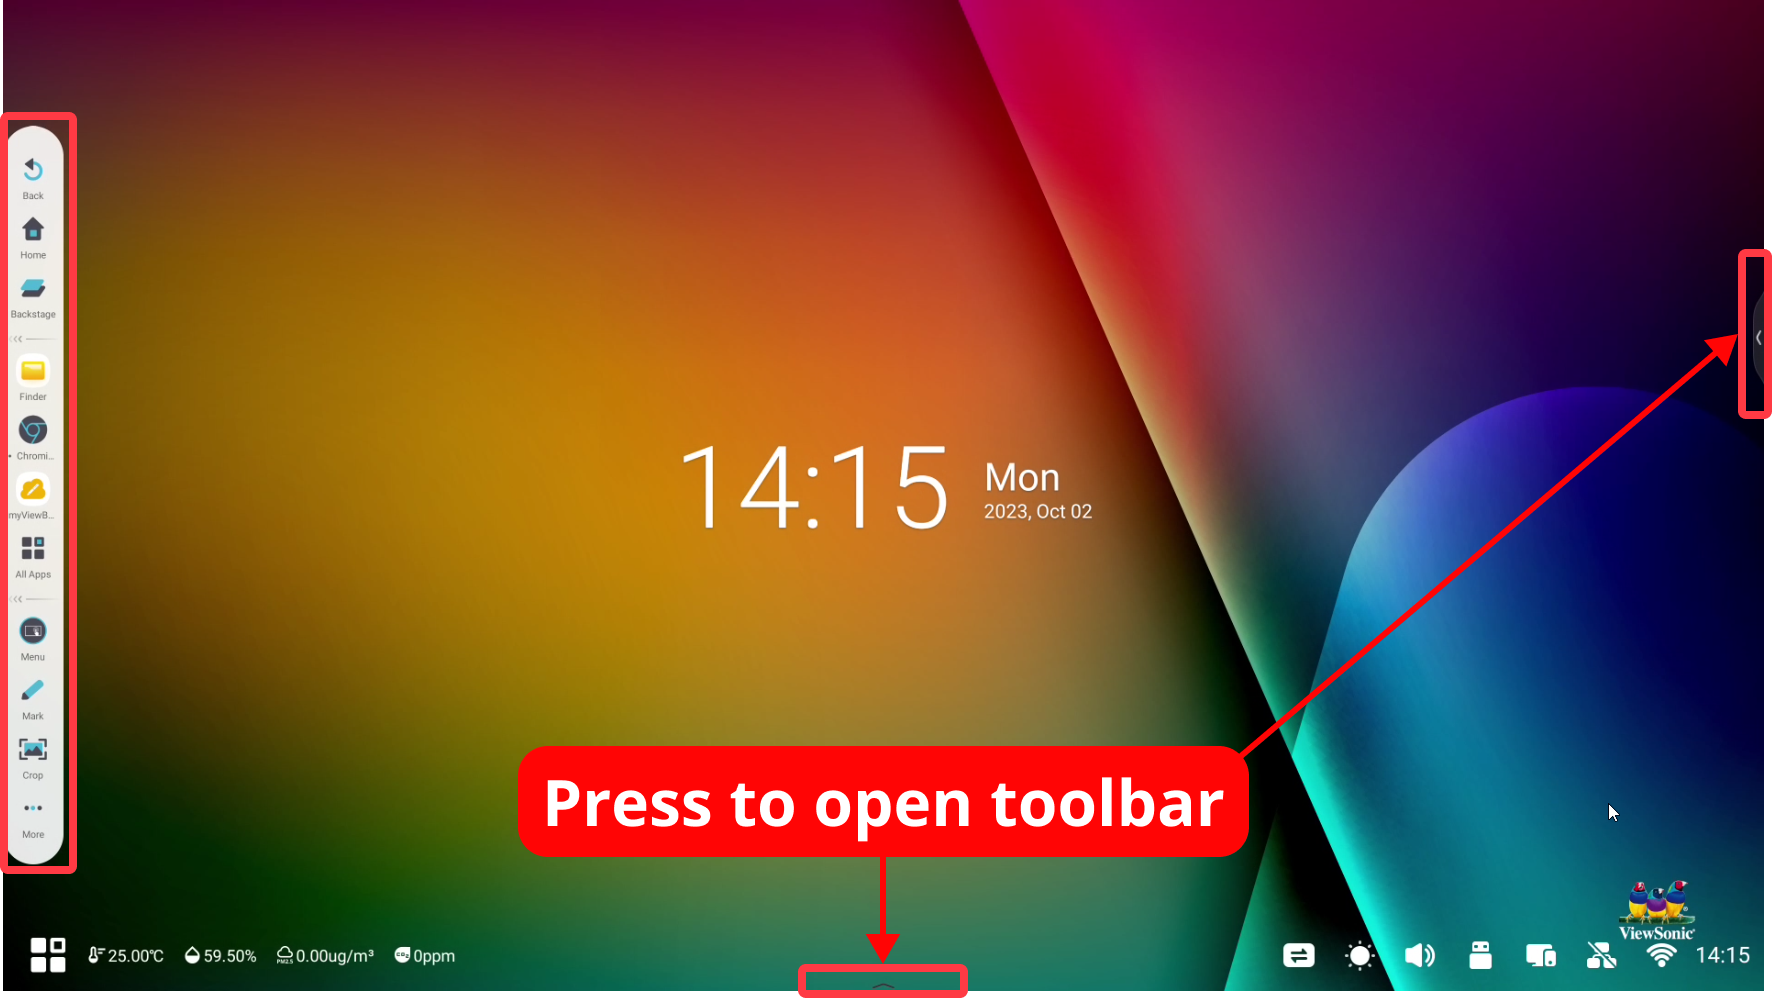 Open toolbar on the left and buttons to open the toolbar at the bottom-center and right highlighted.
Applications tray
Access all apps through your ViewBoard's side toolbar.
- On the ViewBoard home screen, open the side toolbar.
- Press All Apps
to view all available apps.
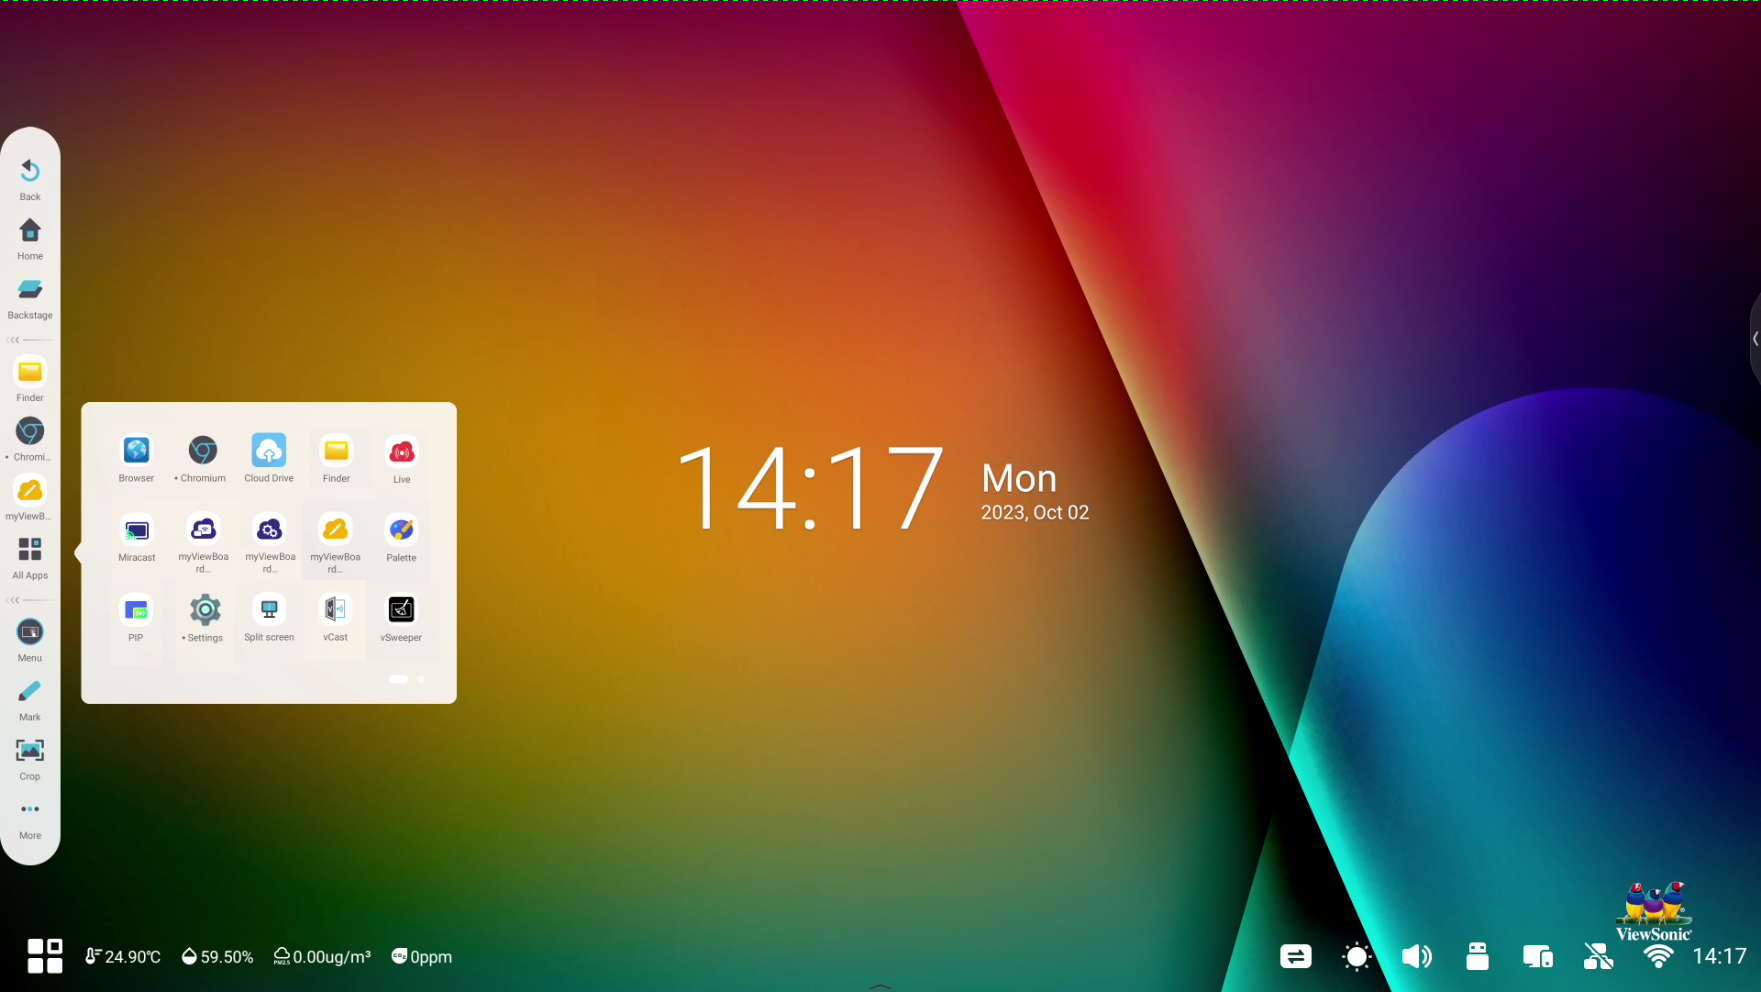 Open app tray from the left toolbar.
| App | Description | App | Description |
|---|---|---|---|
 Browser Browser
|
Web browser for surfing the internet. |
 Chromium Chromium
|
Web browser for surfing the internet. |
 Cloud Drive Cloud Drive
|
Store and retrieve files from your connected cloud storage account. |
 Finder Finder
|
Manage files and folders. |
 Miracast Miracast
|
Wireless stream content from a Windows or Android device to your ViewBoard. |
|
Wirelessly mirror screens to your ViewBoard. |
|
|
Stream your Whiteboard session. |
|
Remotely manage multiple installations of ViewSonic devices. |
|
|
Record, view, and save on-screen content. |
|
Create and deliver digital lessons with a powerful whiteboarding app. |
 Office Suite Office Suite
|
Open Microsoft 365 application file types like DOCX, XLSX, and PPTX as well as PDF. (Note: This app must be enabled in App settings to use it.) |
 Palette Palette
|
Select color and adjust saturation levels. |
 PIP PIP
|
Picture-in-picture for splitting a screen into two with a main window and inset window. In addition, specify an input source for each screen. |
 Settings Settings
|
Access the ViewBoard's system settings. |
 Split Screen Split Screen
|
Open two applications at once and display them side by side. |
 vCast vCast
|
Receive screens from Windows, Mac, and Chrome OS laptops or iOS and Android devices. |
 vSweeper vSweeper
|
Clear your ViewBoard of unnecessary data and unwanted files. | ||
Learn more about pre-installed apps on your ViewBoard.
Other tools
Find the following options and tools in the toolbar after pressing 

Tool |
Description |
|
|---|---|---|
 Back Back |
Return to the previous screen. | |
 Home Home |
Return to the ViewBoard home screen. | |
 Backstage Backstage |
Display all active or open applications. | |
 Finder Finder |
Access all files on your device. | |
 Chromium Chromium |
Web browser for surfing the internet. | |
 All Apps All Apps |
View all installed applications in a tray. See the above table for an app summary. | |
 Menu Menu |
Access your current input source's settings. (Icon will change depending on current input source.) | |
 Mark Mark |
Annotate on any screen and input source.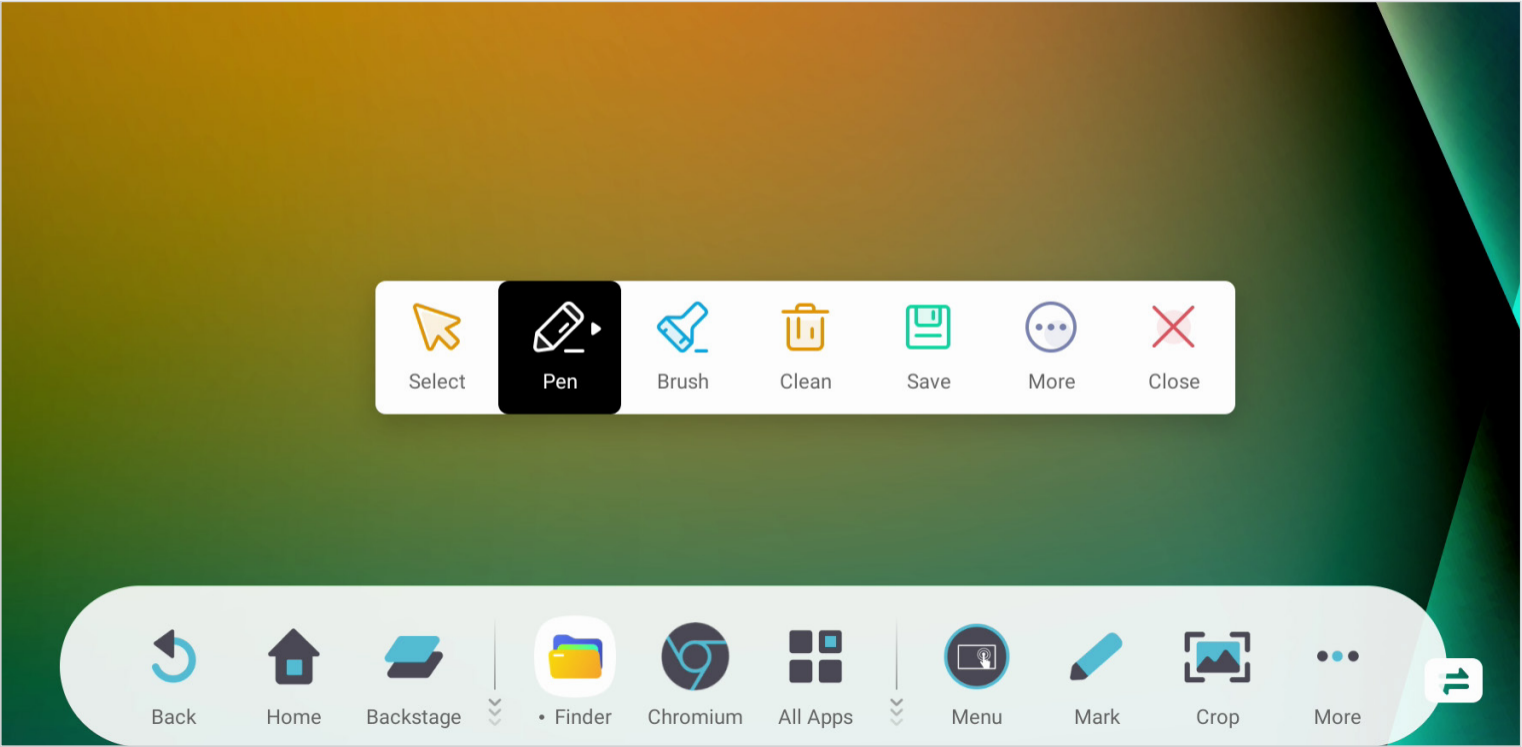 |
|
 Crop Crop |
Access your current input source's settings. (Icon will change depending on current input source.)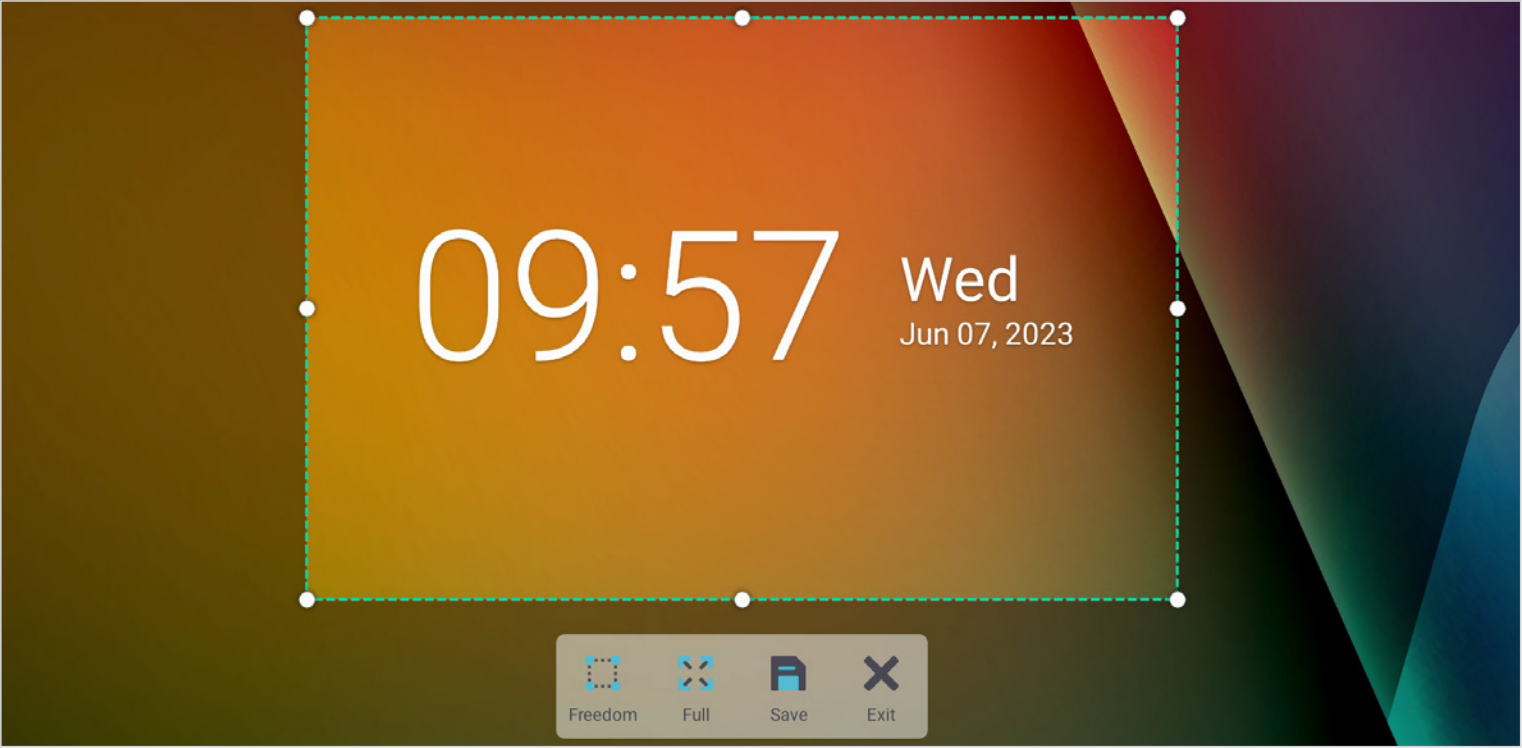 |
|
 More More |
 Timer Timer |
Run a countdown with an optional alarm setting with the option to enable an alarm sound when time is up. |
 Spotlight Spotlight |
Enable a tool to focus on your desired part of the screen. Press the settings icon to adjust the spotlight size and level of transparency around the spotlight. | |
| Record, view, and save on-screen content. | ||
 Freeze Freeze |
Convert the currently displayed screen into a still image into which you can zoom in or out. | |
 Split Screen Split Screen |
Open two applications at once and display them side by side. | |
 Screen Lock Screen Lock |
Lock the display's screen to protect usage of the device from unwanted users. | |
 Calculator Calculator |
A quick tool for math calculations. | |
Modifying the toolbar
Up to 4 apps and 4 tools can be added to the toolbar as shortcuts.
Modify app shortcuts
To add app shortcuts,
- Press All Apps
.
- For your desired app, press-hold it and drag it into the apps section of the toolbar.
To remove app shortcuts from the toolbar,
- Method 1: Directly remove an app from the toolbar.
- On the toolbar, press-hold the app you want to remove.
- Press the remove button
.
- Method 2: Replace an app on the toolbar.
- Repeat the steps to add an app to the toolbar.
- Before releasing the app, drag it over the app you wish to replace.
Modify tool shortcuts
To add tool shortcuts,
- Press More
.
- Press Edit
in the tool tray.
- Press the add button
for your desired tool.
To remove tool shortcuts from the toolbar,
- Press More
.
- Press Edit
in the tool tray.
- Press the remove button
for your desired tool.
Control bar
On the home screen, you'll find a control bar offering quick access to key ViewBoard options.
 Control bar, found at the bottom-right of the home screen.
Button/Port |
Description |
|
|---|---|---|
| 1 |
 Input source Input source
|
Open the quick input source menu. Switch to your desired input source here. |
| 2 |
 Brightness Brightness
|
Open a slider to adjust brightness level. |
| 3 |
 Sound Sound
|
Open a slider to adjust volume level. |
| 4 |
 USB USB
|
Open a connect USB device's storage folder. This icon only appears when an external USB storage device is connected to your ViewBoard. |
| 5 |
 Hotspot Hotspot
|
Open the Wireless hotspot settings menu where you can enable or disable the hotspot feature. |
| 6 |
 Ethernet Ethernet
|
Open the Ethernet settings menu. Enable or disable LAN connection here. |
| 7 |
 Wireless Wireless
|
Open the Wi-Fi settings menu. Enable or disable Wi-Fi and connect to a wireless network. |
| 8 | Date & time | Open the Date & time settings menu. Set the date and time, including time zone and date format. |
To learn more about the general settings menu, view the general settings article.