Get started with your ViewBoard 52-1C series and myViewBoard
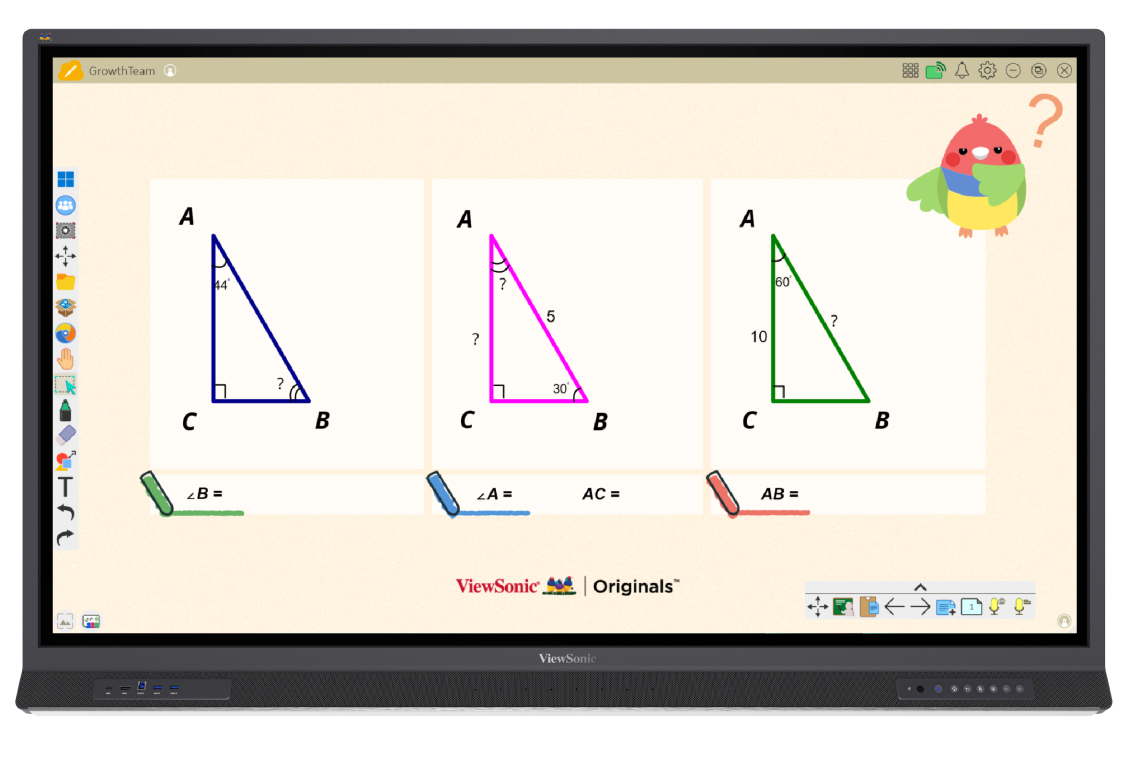
Discover a new ViewBoard experience and start creating lessons with myViewBoard and other pre-installed software.

Front I/O ports (left)
Connect to devices with HDMI and USB.
Control panel (right)
Turn on your ViewBoard, change input source, and more.
Additional ViewBoard accessories
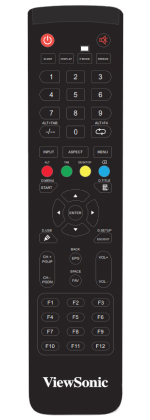
Remote control
Attach included velcro strips to your remote and the side of the ViewBoard for safe storage and easy access.

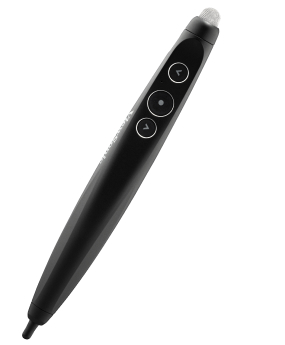
Stylus pens
Ready to use out of the box and can be magnetically attached to the front of the ViewBoard.

Other key extras
- 10’ HDMI cable
- 15’ USB touch cable
- Eraser
ViewBoard’s new look
When first powering on your ViewBoard, your device will load the classic ViewBoard look. You’ll then have the choice to upgrade to ViewBoard’s new look for an enhanced user experience.
Step 1
Open the New Look launcher.

Step 2
Preview the upgrades and initiate the switch.

Step 3
Sign in with a myViewBoard account.

Key ViewBoard Apps
App tray
Find apps for interactive lessons, as well as useful tools for managing your ViewBoard.

Toolbar
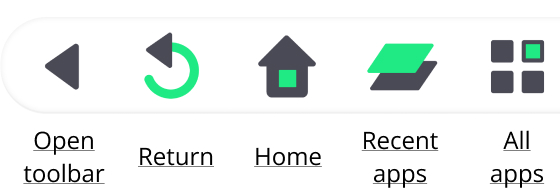
Find the following shortcuts in the always-available toolbar at either end of your display’s screen.

This side toolbar overlays the screen, no matter which input you have selected. Learn more about the toolbar’s features.


This side toolbar overlays the screen, no matter which input you have selected. Learn more about the toolbar’s features.
myViewBoard apps tailored for education
Learn about ViewSonic’s edtech solutions—myViewBoard software and services ready to use in your school.


