
Home
-
Main toolbar (2.0)Floating toolbar (2.0)Pen tools (2.0)Shapes and Lines (2.0)Text formatting (2.0)Adorning menu - All objects (2.0)Adorning menu - Special objects (2.0)
Live Captions full breakdown
Live Captions is only available by request for Entity account types.
Live Captions displays speech-to-text captions on the myViewBoard screen in real-time. This can be useful for people who are hard of hearing, environments that are too noisy or the presenter's voice is too quiet, and classrooms with foreign language learners.
When a host is instructing, captions will appear at the top of the screen.
FEATURE ONLY AVAILABLE TO ENTITIES
Be advised, only entities can request access to this feature. Learn about the benefits of an entity plan, and learn how to request an entity account.
System requirements
- Your device must have a microphone. This can be built-in, such as on most laptops, or be externally connected, such as with a USB microphone or headset.
How to use
- Sign in to myViewBoard if you haven't already.
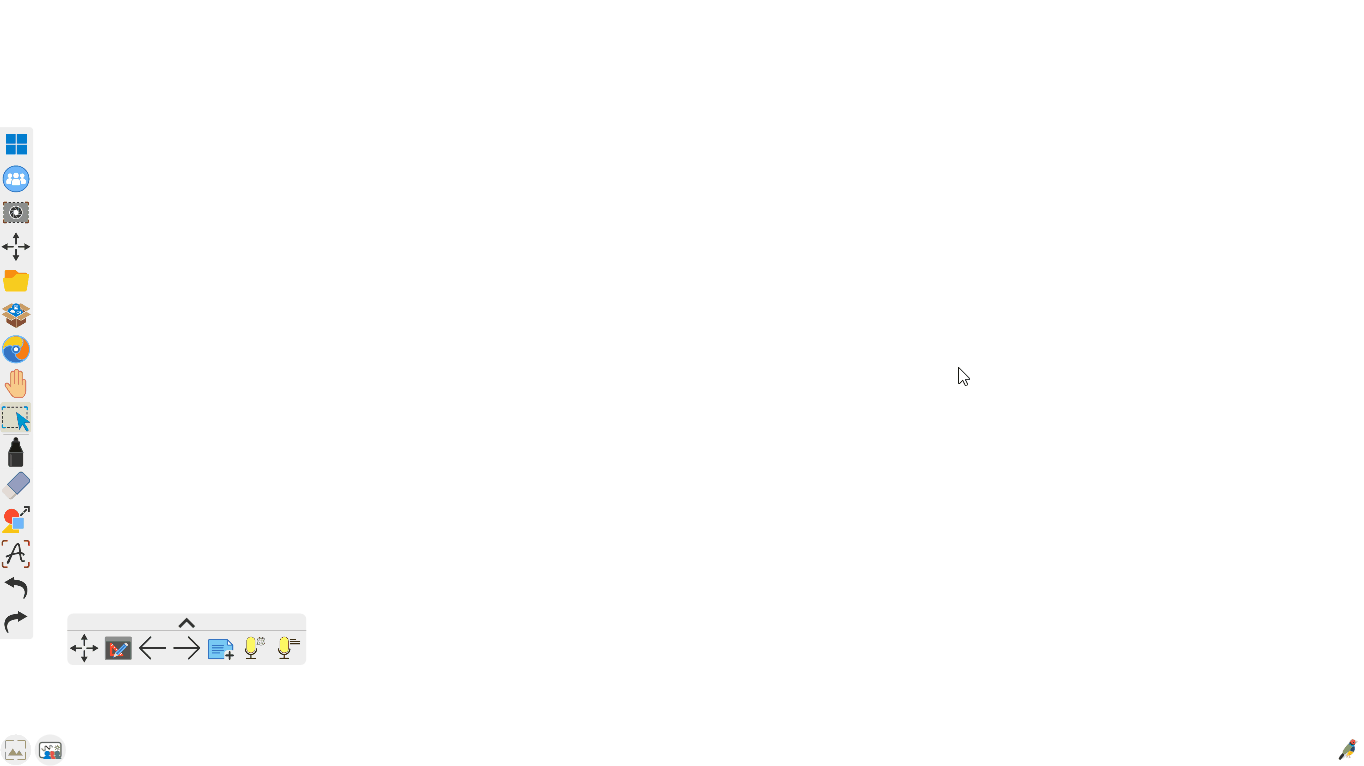
- Locate the floating toolbar.
- Press
.svg) to choose one of the 20 languages that will be used to recognize and display the live captions on the canvas.
to choose one of the 20 languages that will be used to recognize and display the live captions on the canvas. - Press
.svg) to activate the live captions.
to activate the live captions. - To stop the live captions, press . Allow a few seconds for the captions to disappear.
Troubleshooting
If you are encountering some problems using Live Captions, review one of the sections below:
Cannot see Live Captions icons
Live Captions is a feature for myViewBoard. Please, make sure you:
- Are registered under a myViewBoard Entity.
- Contact us to enable this feature (the feature is disabled my default).
Can see the icons but no live captions are generated
There could be multiple reasons for this:
- Check your device has a built-in microphone, or you have connected one to the device with myViewBoard.
- Check if your microphone is working:
- Press the Windows search icon in the taskbar.
- Search for microphone privacy settings.
- Enable Allow apps to access your microphone.
- Scroll down to check myViewBoard has access to the microphone.
- Check if the device has a dedicated key or button in its keyboard for enabling or disabling the microphone.
- Check your microphone level:
- Open Control Panel.
- Search for manage audio devices.
- Click Recording to view your microphone(s).
- Say something and observe if the microphone level indicator is green (audio is picking up), red (audio is loud); alternately, if the audio level is too low, consider moving the microphone closer to you.
- Restart myViewBoard and try Live Captions again.
Click here for more info on fixing microphone issues.
Use Live Captions with other apps
You can use the Live Captions feature from myViewBoard over other apps:
- Select Live Captions in the floating toolbar.
- Minimize the myViewBoard app or switch to desktop mode.
- Continue talking and the live captions will still appear at the top of the screen.
Live Captions in recordings
Use the Screen Recorder feature in your myViewBoard to record your screen during your presentation. Live Captions will be included in the recording.
DeleteLive Captions accuracy
First, verify that your microphone is working properly (see sections above). Then, try the following:
- Make sure you are not too far away from the microphone.
- If the background noise is high, it can also negatively affect Live Captions.
- Select
.svg) and make sure you have selected the right language and location.
and make sure you have selected the right language and location.
Learn more