Home
Home
-
Come iniziare con ManagerGestione dei dispositiviManager AdvancedAltre informazioni su Manager
Aggiunta dei dispositivi
Dopo che i dispositivi sono stati configurati e hanno installato l'app myViewBoard Manager, possono essere aggiunti a un'entity e gestiti in remoto dall'app Web Manager (disponibile per gli amministratori dell'entity dopo l'accesso a myviewboard.com).

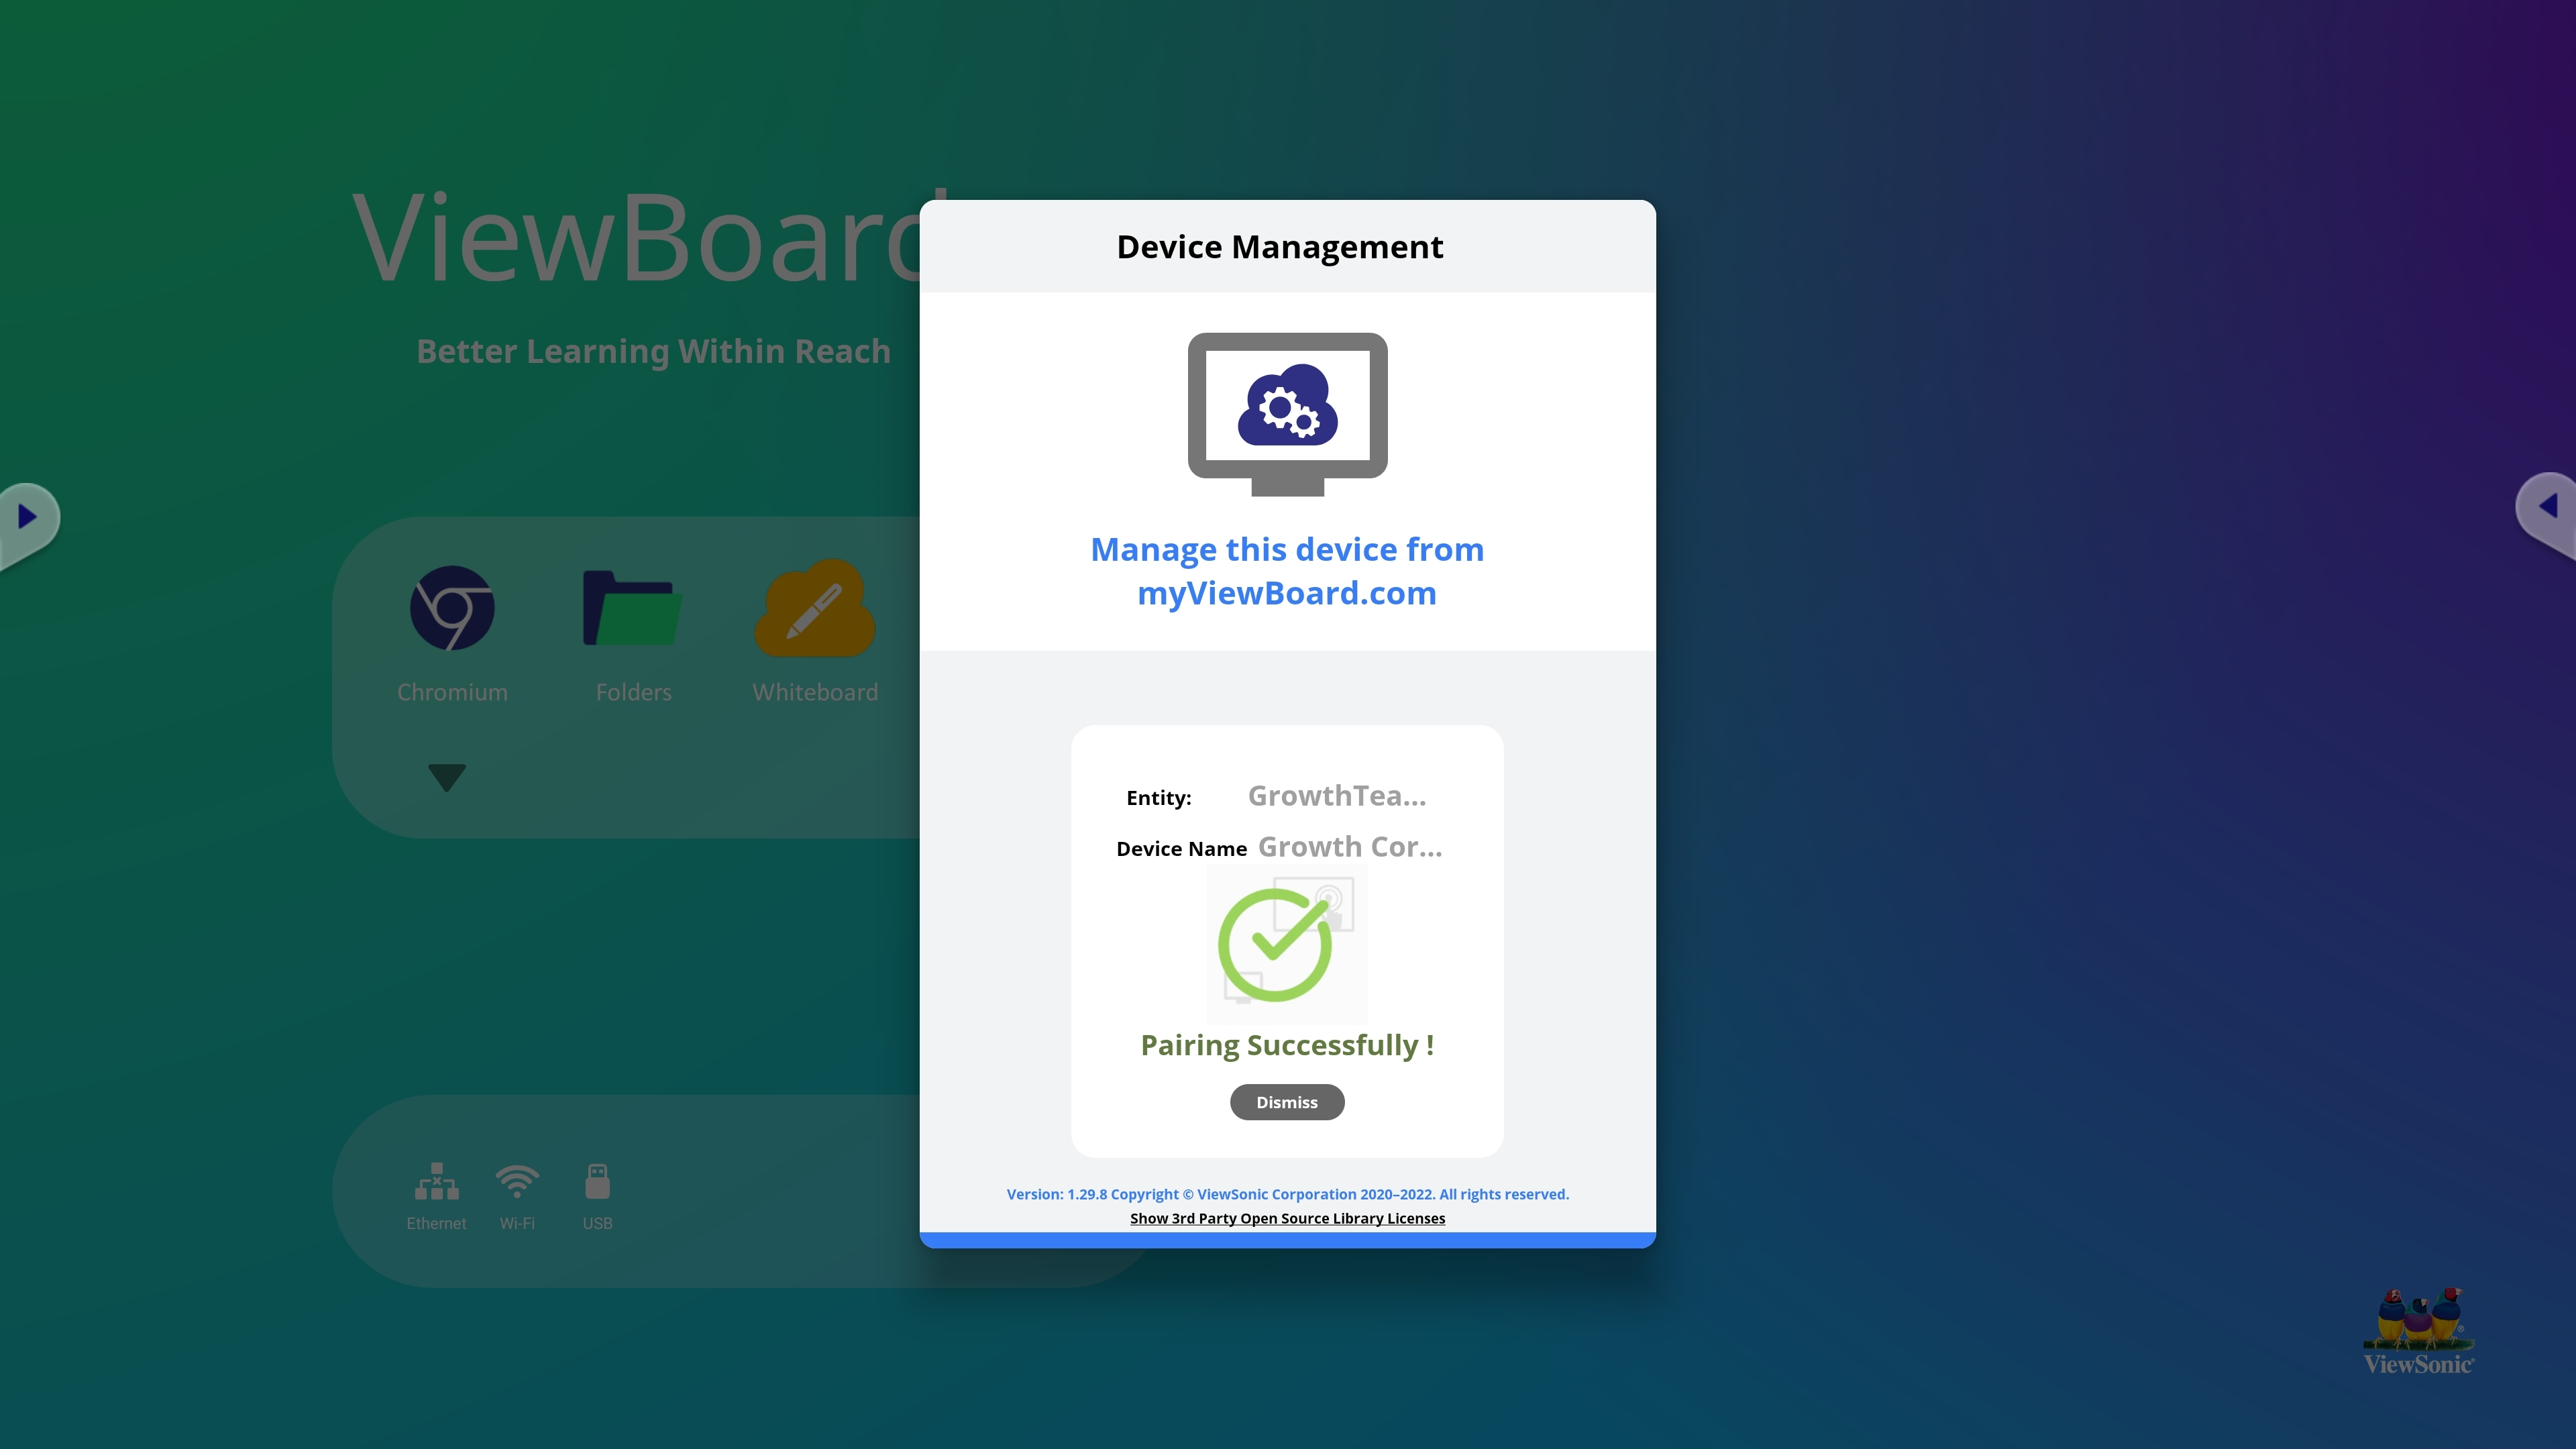
Avvio del processo
Sul dispositivo da gestire, apri l'app e prendi nota del PIN di 6 cifre visualizzato.
Aggiunta di un singolo dispositivo con PIN a 6 cifre
Sulla console web di myViewBoard Manager,
- Premi il pulsante Aggiungi dispositivo
 .
. - Inserisci il PIN a 6 cifre del tuo dispositivo.
- Assegna un nome al dispositivo (facoltativo).
- Aggiungi il dispositivo a un gruppo nuovo o esistente (facoltativo).
- Premere OK.

Utilizzando un numero di serie
- Sul dispositivo da gestire:
- Individua il numero di serie del dispositivo, nelle impostazioni di sistema o sul dispositivo stesso.
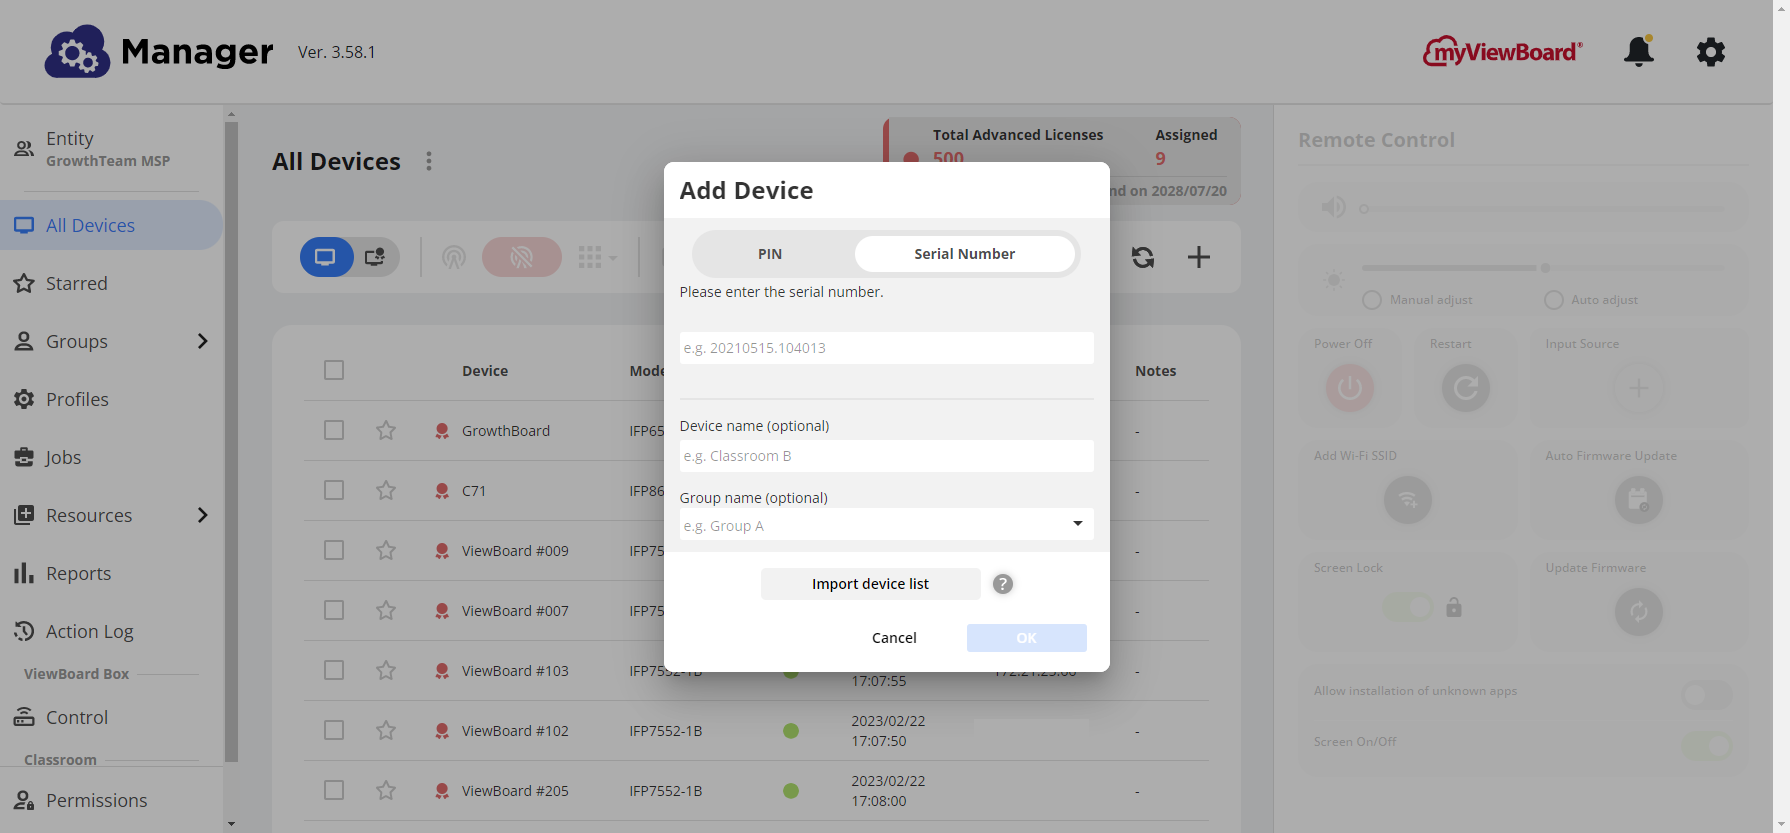
- Nella console Web Manager :
- All'interno della console, premi il pulsante Aggiungi dispositivo .
- Passa il pop up alla visualizzazione Numero di serie.
- Inserisci il numero di serie del dispositivo.
- Assegna un nome al dispositivo (facoltativo).
- Aggiungi il dispositivo a un gruppo nuovo o esistente (facoltativo).
- Premere OK.
- All'interno della console, premi il pulsante Aggiungi dispositivo
Utilizzo dell'iscrizione in batch
- Sul dispositivo da gestire,
- Opzione 1 : raccogliere tutti i PIN a 6 cifre dai dispositivi da aggiungere.
- Opzione 2 : raccogliere tutti i numeri di serie dai dispositivi da aggiungere.
- Nella console Web Manager,
- All'interno della console Web Manager, premere il pulsante Aggiungi dispositivo .
- Premere
 per scaricare il modello di foglio elettronico di iscrizione (tipo di file
 .xlsx). - Aggiungi tutti i PIN o SN del dispositivo al modello.
- Tornando al prompt Aggiungi dispositivo sulla console Web Manager, premere Importa elenco dispositivi.
- Carica il tuo file di registrazione batch aggiornato.
- Premere OK.
- All'interno della console Web Manager, premere il pulsante Aggiungi dispositivo
Utilizzo dell'app Companion myViewBoard
- Sul dispositivo da gestire,
- Avvia l'app Android myViewBoard Manager per visualizzare un codice QR unico.
-
Sull'app Companion,
- Avvia la Companion App e assicurati di aver effettuato l'accesso con un account Entity Admin.
- Tocca la funzione lettore QR
 e scansiona il codice QR del tuo dispositivo.
 - Inserisci le informazioni sul dispositivo e assicurati di selezionare l'entity corretta.
- Premi Invia per aggiungere il dispositivo a Manager.
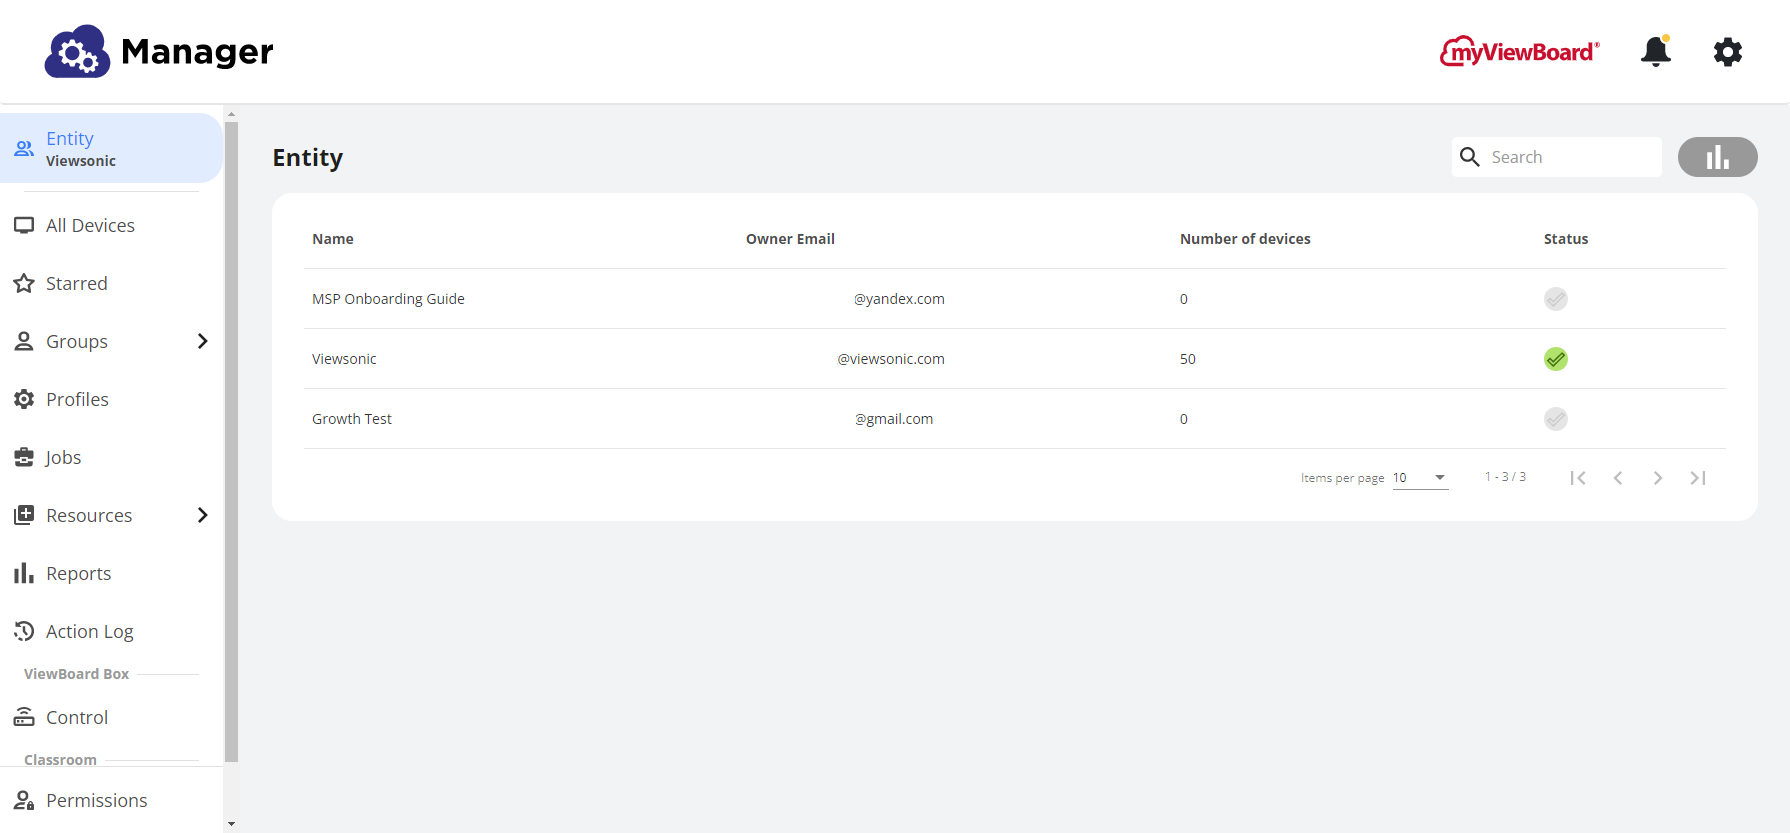
Rimozione dei dispositivi da Manager
- Assicurarsi di avere il corretto premendo
 Entity e premendo l'entity desiderata.
 - Vai sulla pagina
 Tutti i dispositivi.
 - Individua il dispositivo che desideri rimuovere da questa entity nella lista.
- Seleziona la casella per questo dispositivo.
- Premere
 .
. - Premi Sì.